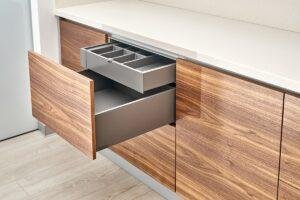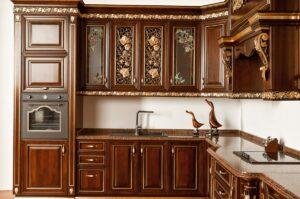
Is your kitchen feeling a little lackluster? Do you want to give it a fresh, polished look without breaking the bank? One often-overlooked area in the kitchen that can make a significant difference is the underside of cabinets. This often-neglected space can be transformed into a stylish and functional part of your kitchen. In this guide, we’ll show you how to finish the underside of cabinets and breathe new life into your kitchen space.
Why Finish the Underside of Cabinets?
Before we dive into the “how,” let’s discuss the “why.” Why should you bother finishing the underside of your kitchen cabinets? Here are some compelling reasons:
Aesthetics
Finishing the underside of cabinets adds a polished look to your kitchen. It hides unsightly wires, pipes, and other structural elements, giving your kitchen a clean and cohesive appearance.
Protection
Applying a finish to the underside of cabinets helps protect the wood from moisture and potential damage over time. This added layer acts as a shield, extending the life of your cabinets.
Increased Home Value
If you plan to sell your home in the future, a well-finished kitchen can significantly increase its resale value. Potential buyers will appreciate the attention to detail and the modern look.
Now that you understand the benefits, let’s get into the step-by-step process of finishing the underside of your cabinets.
Materials You’ll Need
Before you start this project, gather the necessary materials and tools:
- Sandpaper (various grits)
- Wood stain or paint
- Paintbrushes or foam rollers
- Drop cloths
- Screwdriver
- Safety goggles and gloves
- Cleaning supplies (degreaser, soap, water)
Step 1: Prepare Your Workspace
Begin by emptying the contents of your cabinets and placing them in a safe area. Lay down drop cloths to protect your countertops and floors from any spills or splatters.
Step 2: Clean Thoroughly
Clean the underside of your cabinets using a mixture of warm water, mild dish soap, and a degreaser if necessary. Ensure that the surface is free from dirt, grime, and any residues.
Step 3: Sand the Surface
Using sandpaper, gently sand the underside of the cabinets. Start with a coarse grit to remove any rough spots or old finishes, and then move to finer grits for a smoother surface.
Step 4: Apply Finish
Now comes the fun part – applying the finish! You have two primary options here: staining or painting.
Staining:
- If you want to showcase the natural wood grain, staining is a great choice.
- Apply the stain evenly with a brush or cloth, following the wood’s grain.
- Allow it to dry completely between coats, and apply multiple coats for a deeper color.
Painting:
- Painting allows for a variety of color options to match your kitchen’s aesthetic.
- Apply primer first to ensure even coverage and adhesion.
- Once the primer is dry, paint the underside of the cabinets with your chosen color.
- Apply additional coats if needed, letting each coat dry thoroughly.
Step 5: Reassemble
After the finish has dried, reassemble your kitchen items back into the cabinets. Make sure everything is well-organized and tidy.
Step 6: Enjoy Your Transformed Kitchen
Step back and admire your handiwork. Your kitchen now has a fresh, finished look that’s sure to impress. Plus, you’ve added protection to your cabinets and potentially increased your home’s value.
In conclusion, finishing the underside of your kitchen cabinets is a simple yet effective way to elevate the overall look and feel of your kitchen. It’s a DIY project that’s not only budget-friendly but also achievable for individuals of all skill levels. So, roll up your sleeves and transform your kitchen into a space you’ll love spending time in, one cabinet at a time.

